- Basic Mechanism
- Adding Items
- Importing Custom Images
- Entering Text
- Resizing
- Rotation and Flipping
- Drawing on the Screen
- Drawing Lines
- Drawing Curves
- Erasing Parts
- Changing Colors
- Fine Position Adjustment
- Merging Layers
- Reordering Layers
- Setting the Background
Basic Mechanism
The image editor allows you to use built-in assets, import custom images, and enter text. You can also draw directly on the canvas by clicking “Add Drawing Layer.”
Each time you add something, a new layer is created. If the background is transparent, everything may look like a single image, but each object exists on its own layer. You can only operate on the topmost layer.
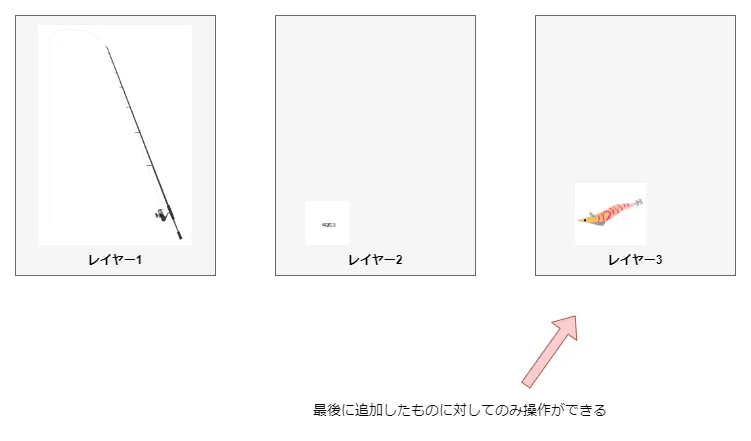
Therefore, you need to consider the order when adding items. Typically, you should first add the rod and reel set, then add rigs or lures.
Adding Items
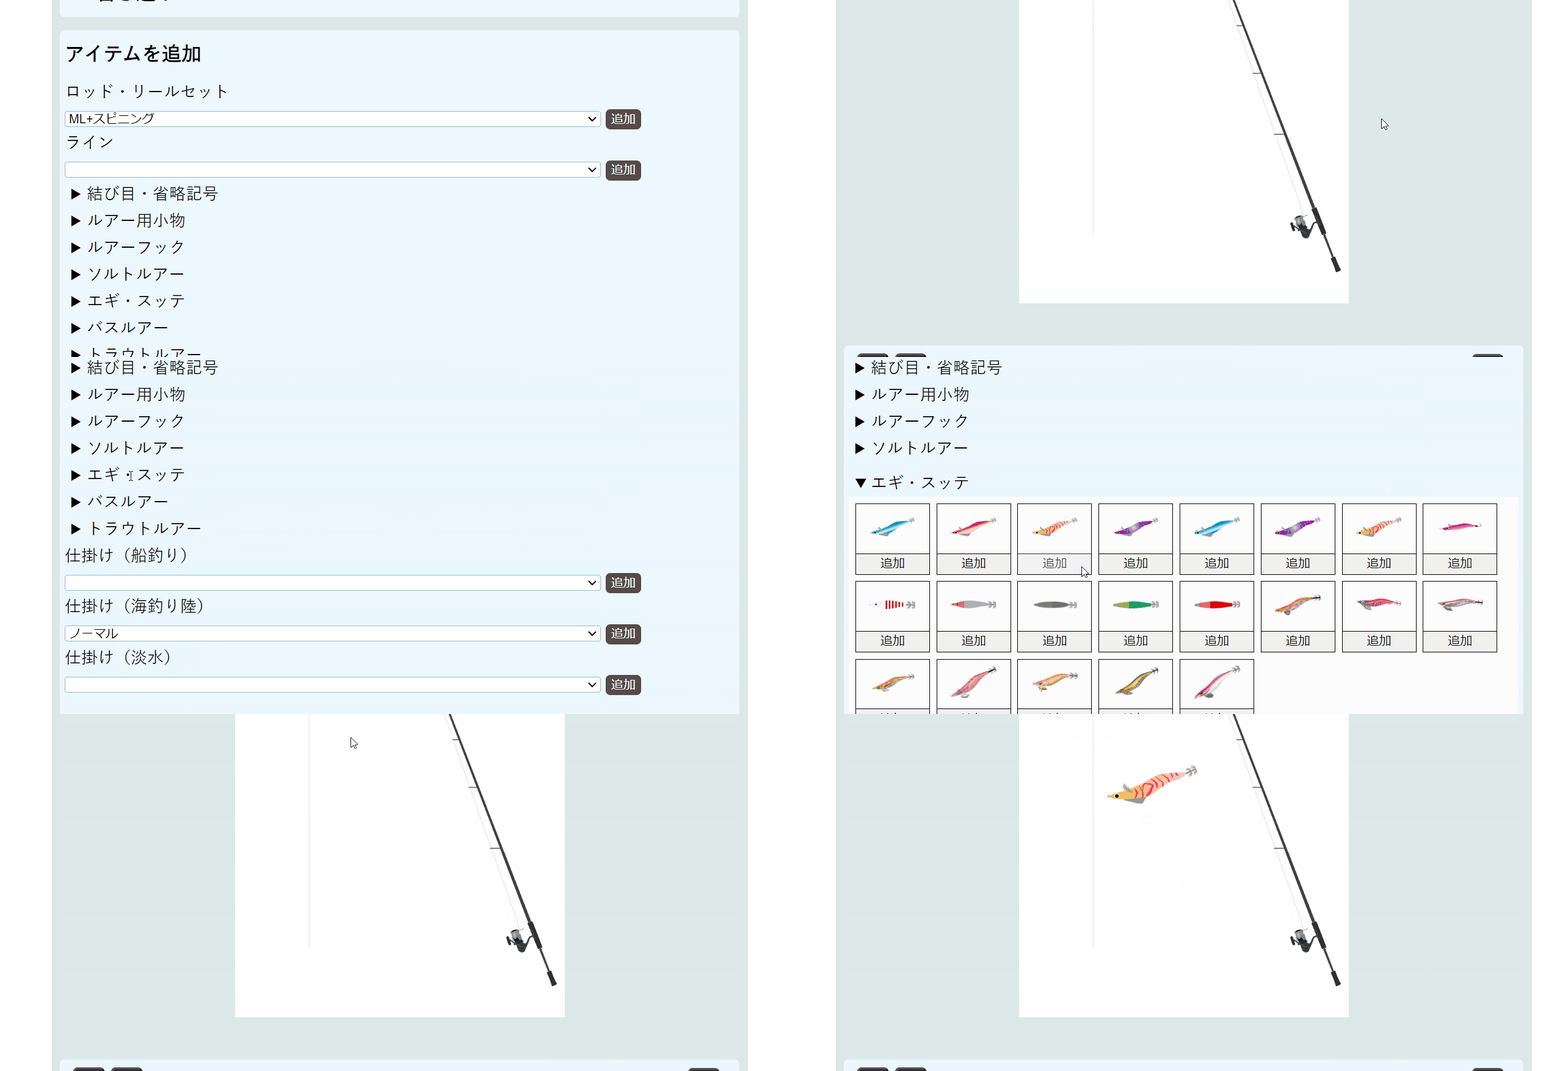
Select “Add Item” → choose the desired item → click the add button to display various fishing gear on the screen.
Importing Custom Images
You can import an image by selecting a file from the “Import Image” section.
You can also copy an image from the web and paste it into the field labeled “Paste image from clipboard,” or paste it directly onto the screen using “Ctrl+V.”
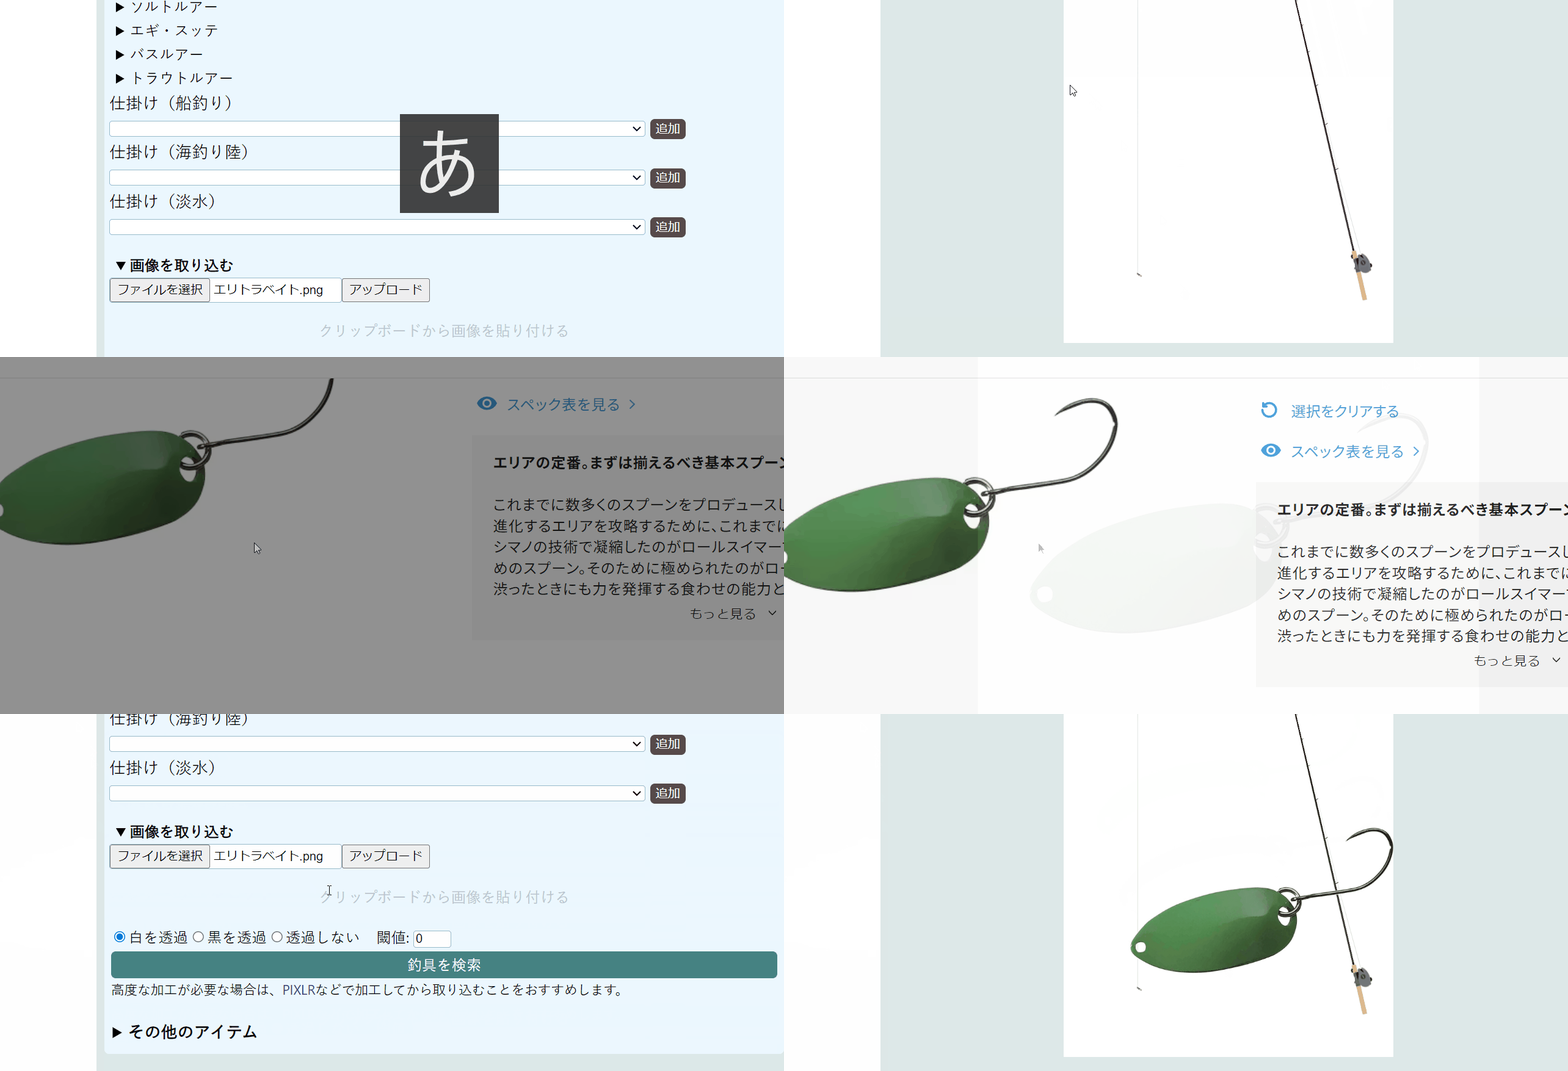
If “Make white transparent” is selected, white areas become transparent. If “Make black transparent” is selected, black areas become transparent.
Entering Text
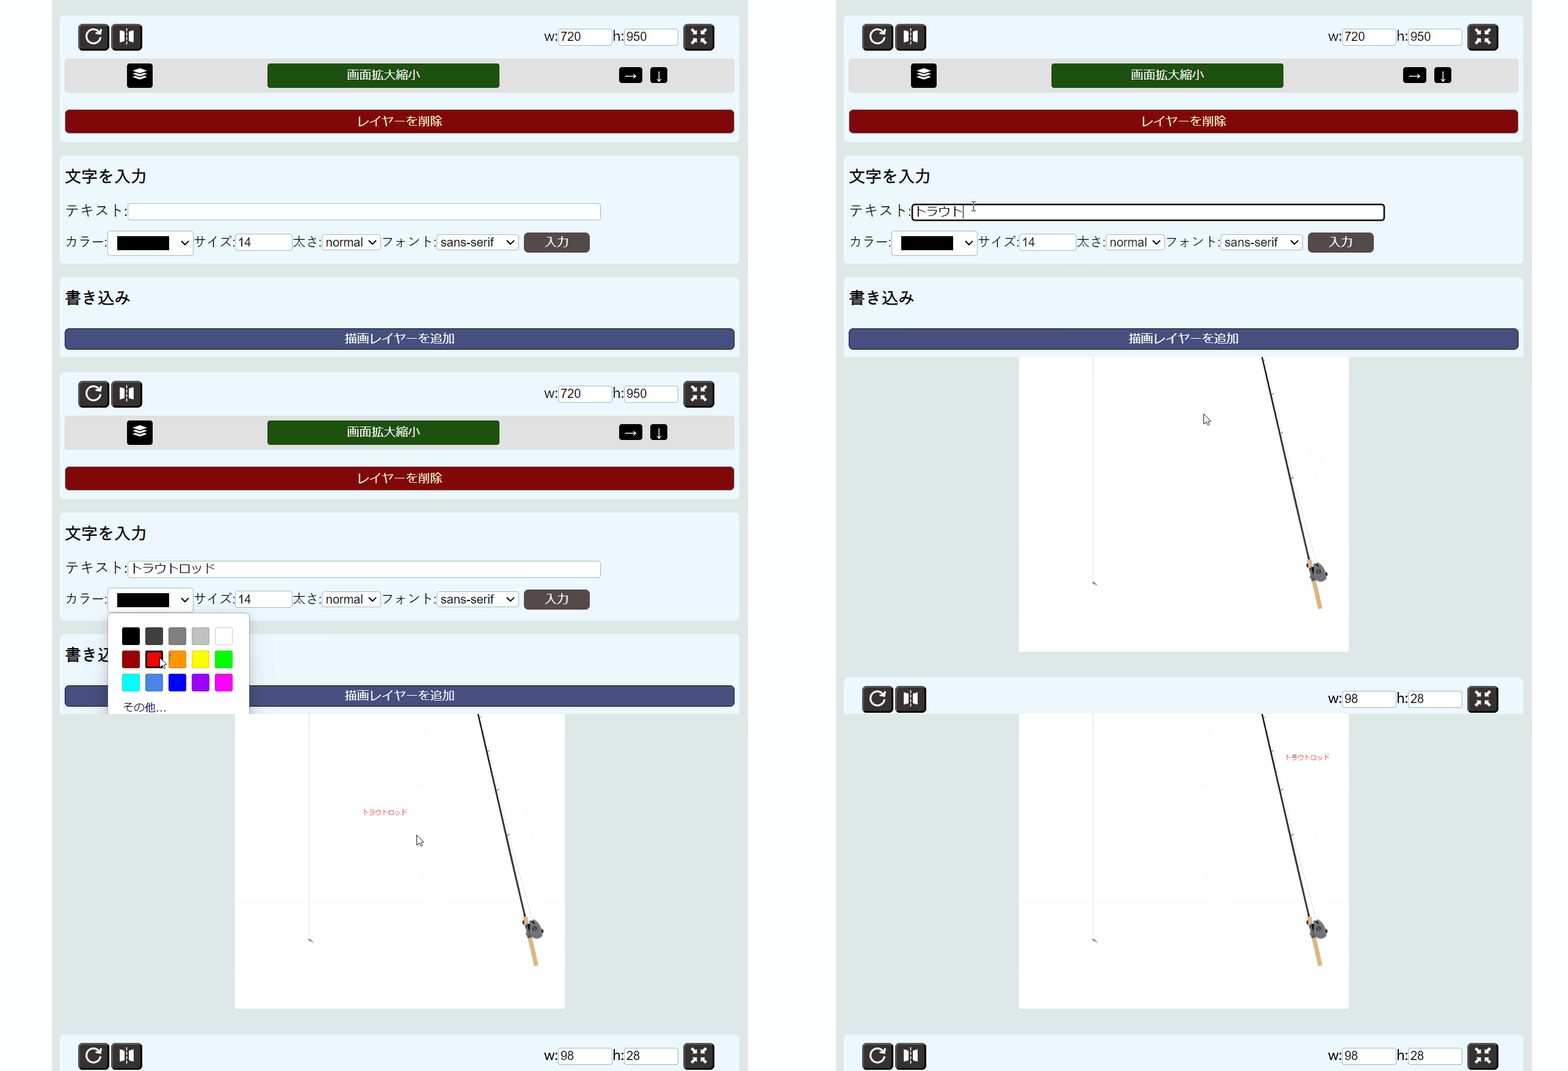
Go to the “Text Input” section → choose text, color, and font → click the input button to add text.
Text can be moved and rotated just like items.
Resizing
You can resize assets or imported images by adjusting the W and H values at the bottom right of the screen and clicking the button next to them. Changing H automatically adjusts W, maintaining the aspect ratio. To intentionally change the ratio, adjust H first, then W.
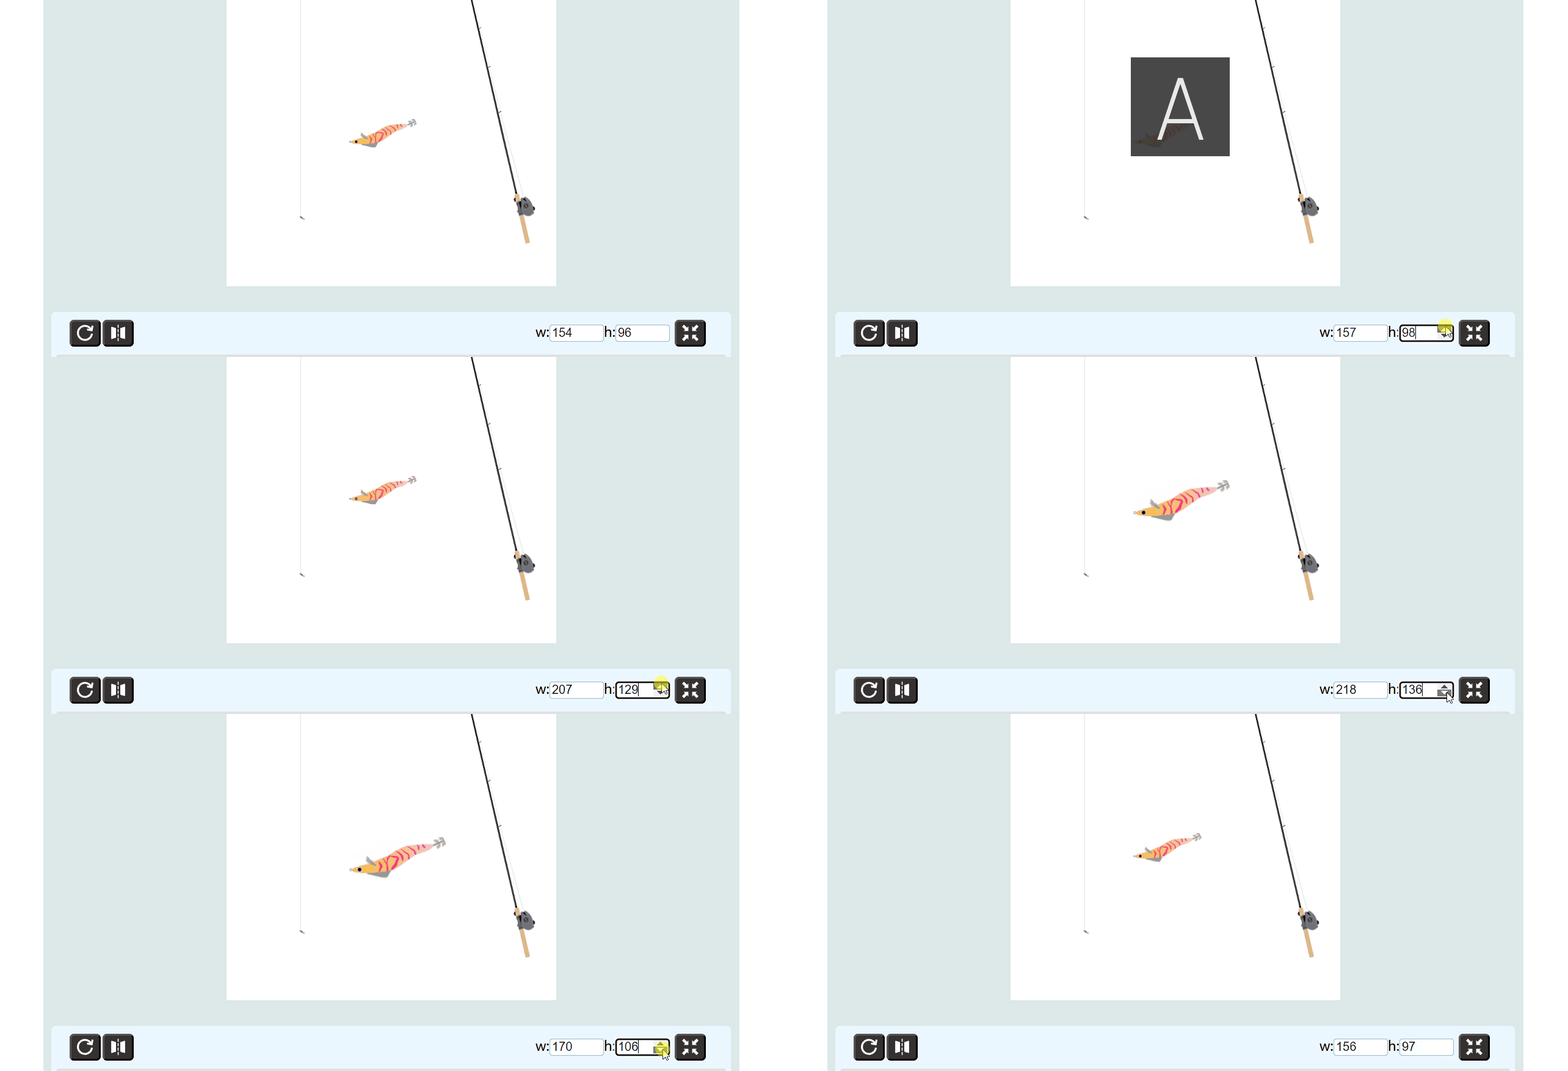
However, you cannot enlarge beyond the screen size.
Rotation and Flipping
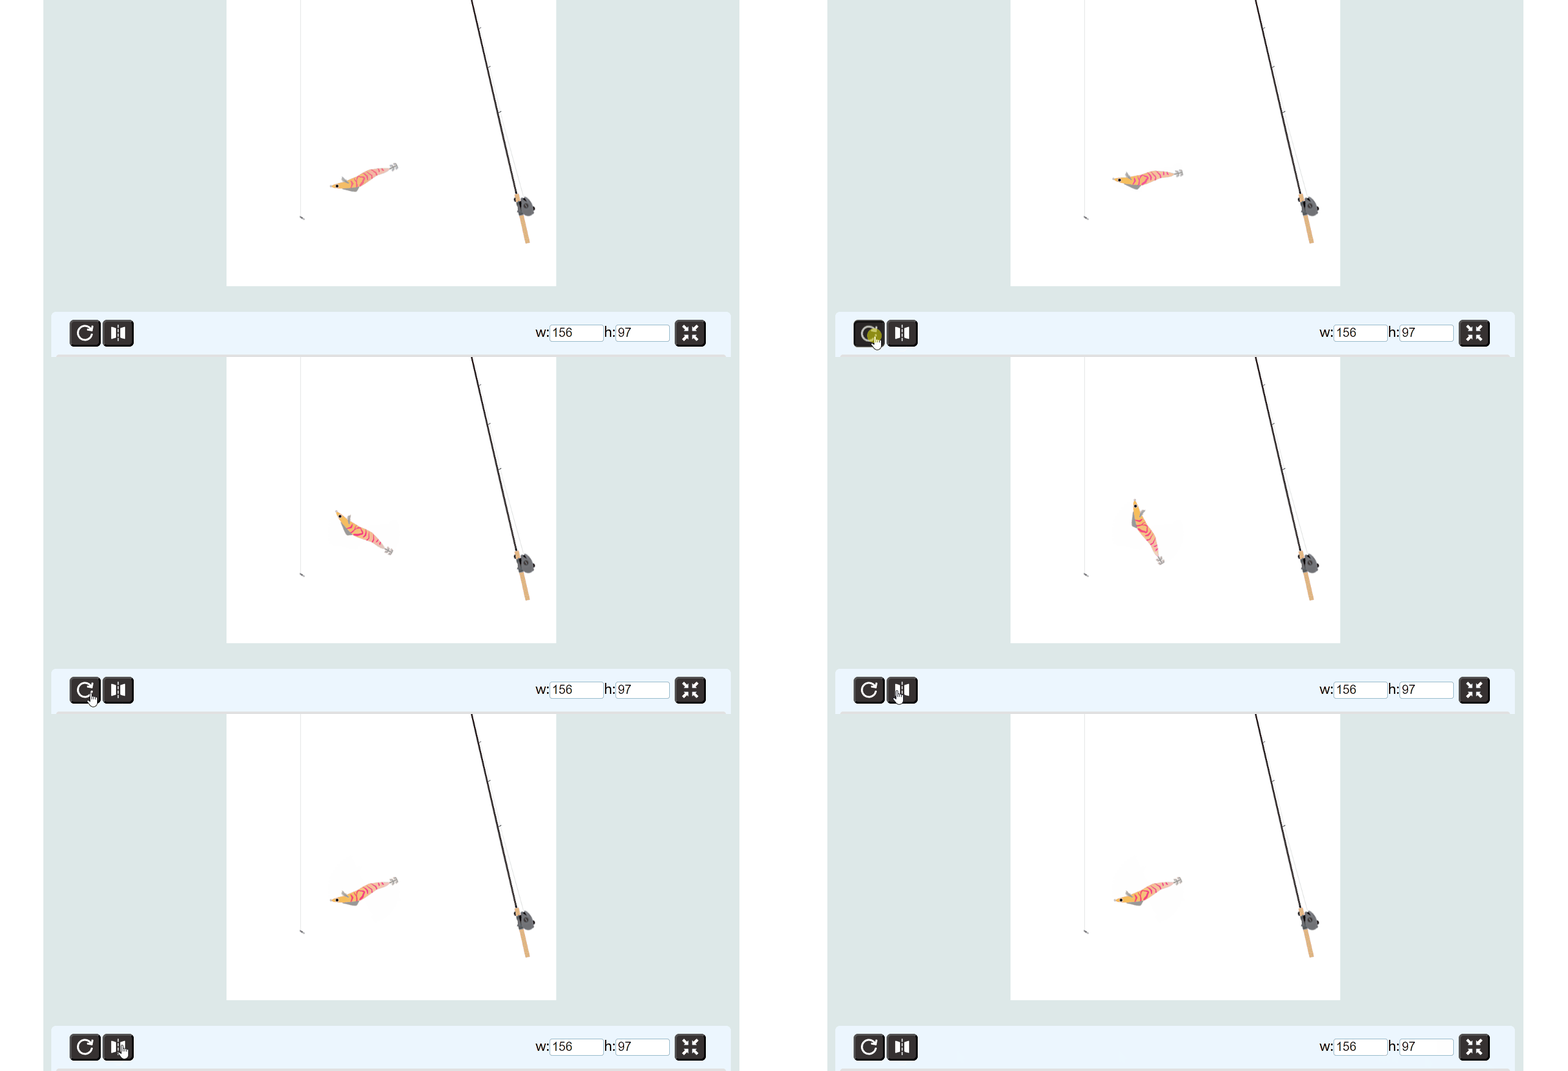
Click the button on the bottom-left of the image to rotate.
Click the second button from the left to flip horizontally.
Drawing on the Screen
Click “Draw” → “Add Drawing Layer” to enable drawing directly on the screen.

You can change line thickness and color from the options at the top.
Drawing Lines
With a drawing layer added, click “+” next to “Clear,” then select “Multi-point Input.” Place points on the screen and click “Draw.”

You can also fill the enclosed area by clicking “Fill.”
Drawing Curves
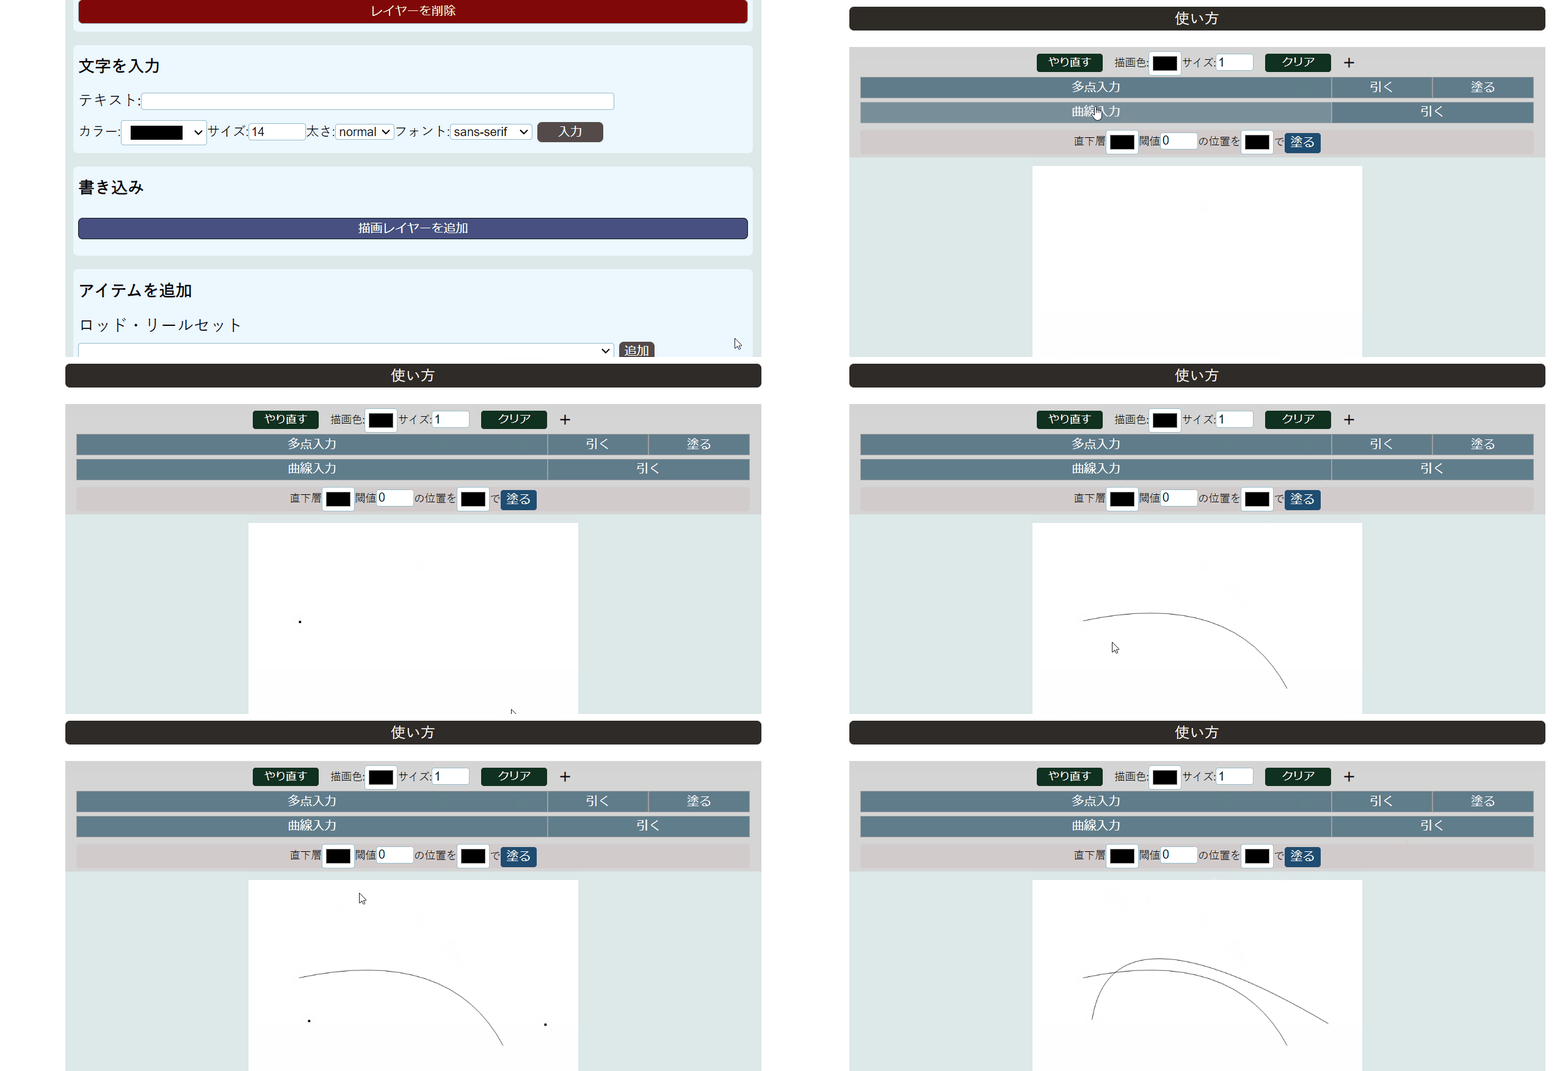
With a drawing layer added, click “+” next to “Clear,” then select “Curve Input.” Place three points and click “Draw.” The third point is used to adjust the curve angle.
Erasing Parts
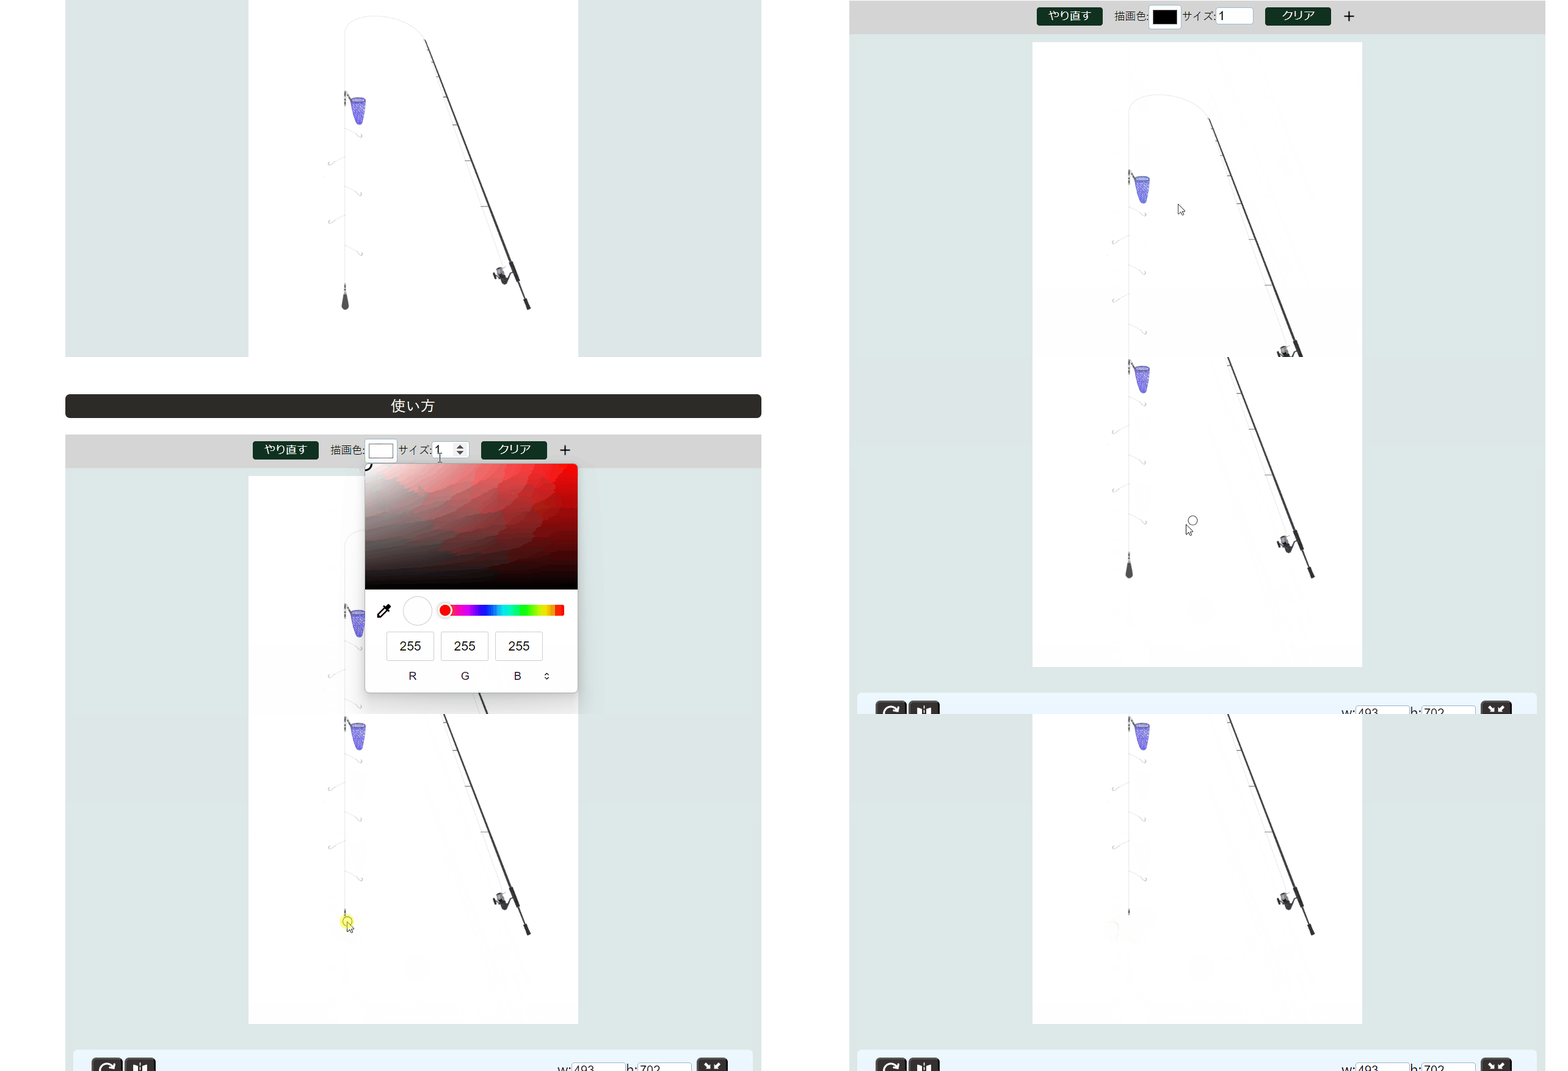
To remove unwanted parts, select “Mouse/Touch Input” → “Add Layer,” then paint over the area with white.
For more advanced editing, you can use external tools like Pixlr or Polarr, then import the edited image.
This only paints over the top layer, so the underlying layer remains unchanged. If you delete the layer, it returns to the original state. To move an erased object, use Merge Layers.
Changing Colors
With a drawing layer added, click “+” next to “Clear.” Adjust the color in the bottom field and click “Fill” to recolor areas of the layer directly below.
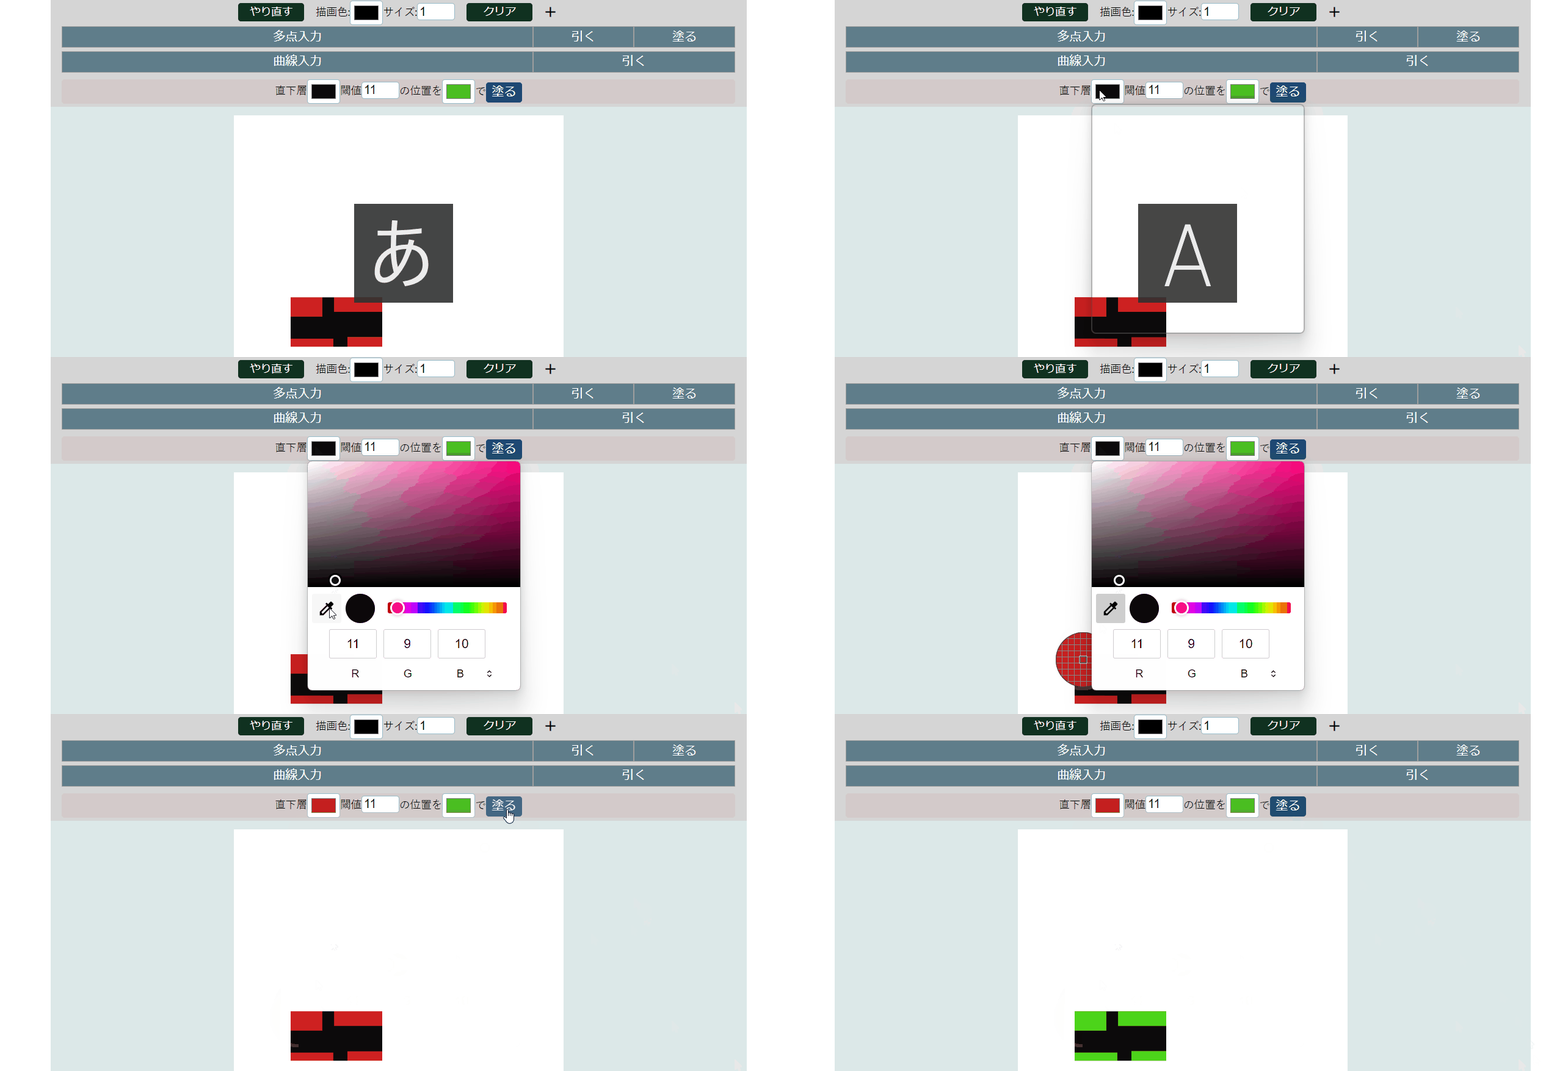
This only works on the immediately underlying layer.
You can use the eyedropper tool in the color picker to easily select colors from the screen (depending on your browser).
This only affects the top layer visually. To move or resize after recoloring, use Merge Layers.
Limiting Fill Area
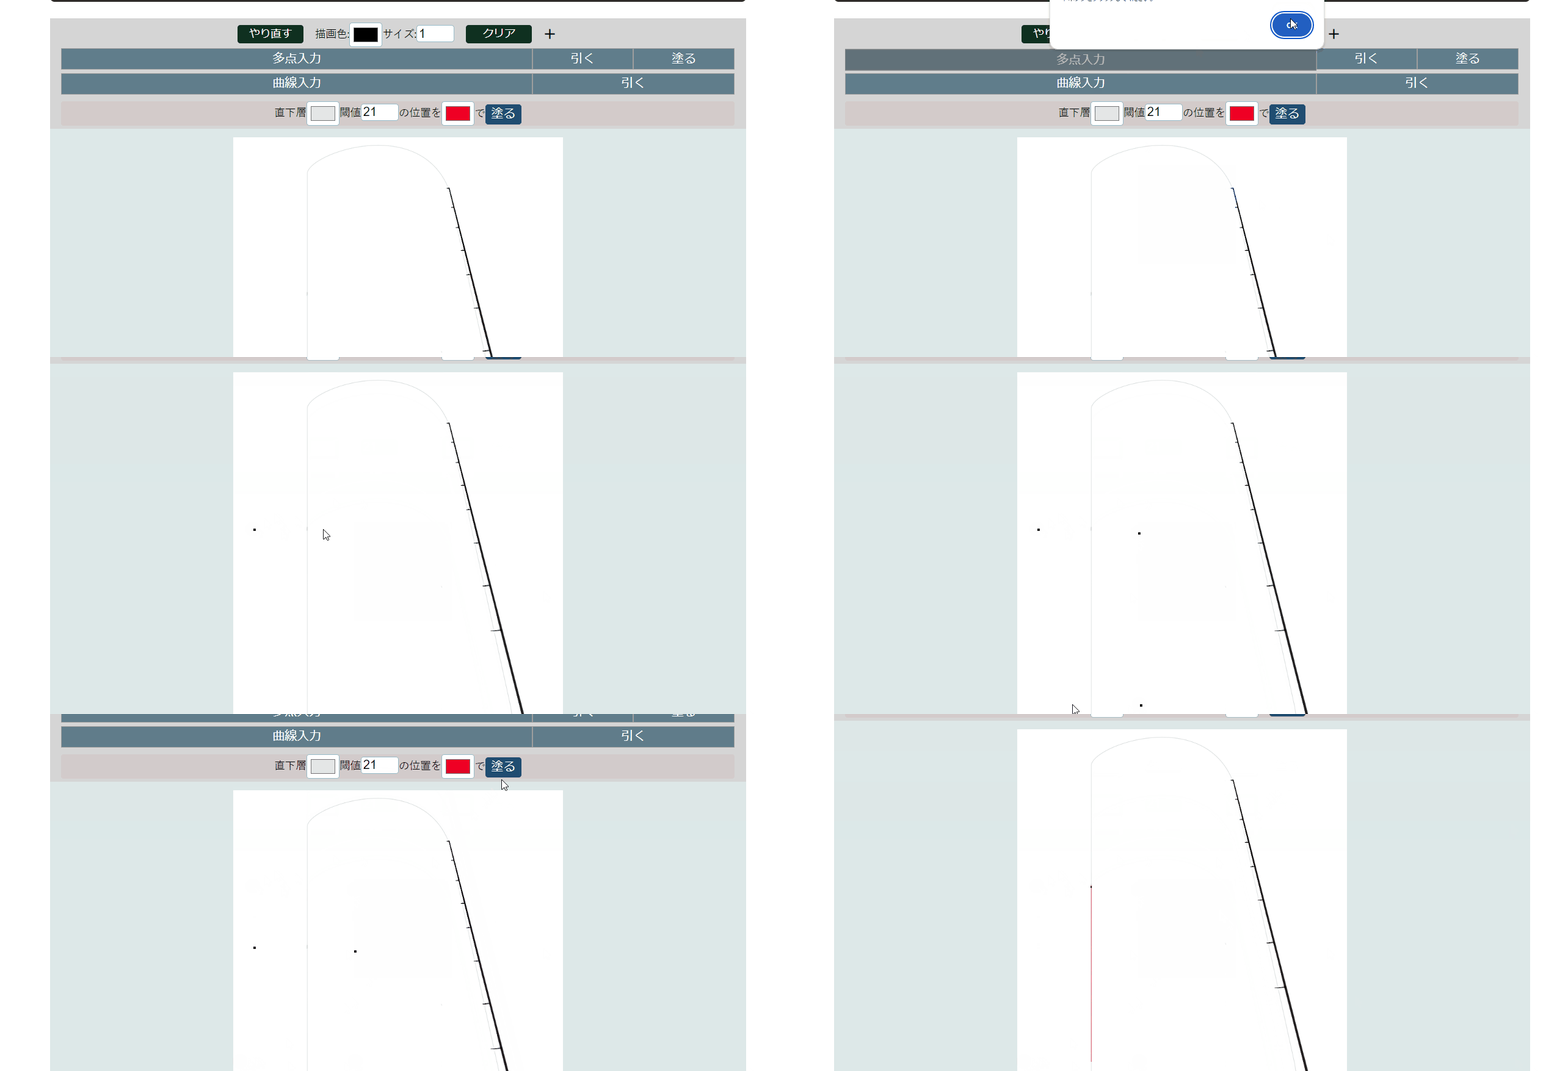
When using “Multi-point Input,” placing two or more points restricts the fill area to within the bounding box of those points. This allows partial recoloring, such as changing only the leader section.
Fine Position Adjustment
Use the arrows at the bottom right to move items by 1px (→ moves right, ↓ moves down).
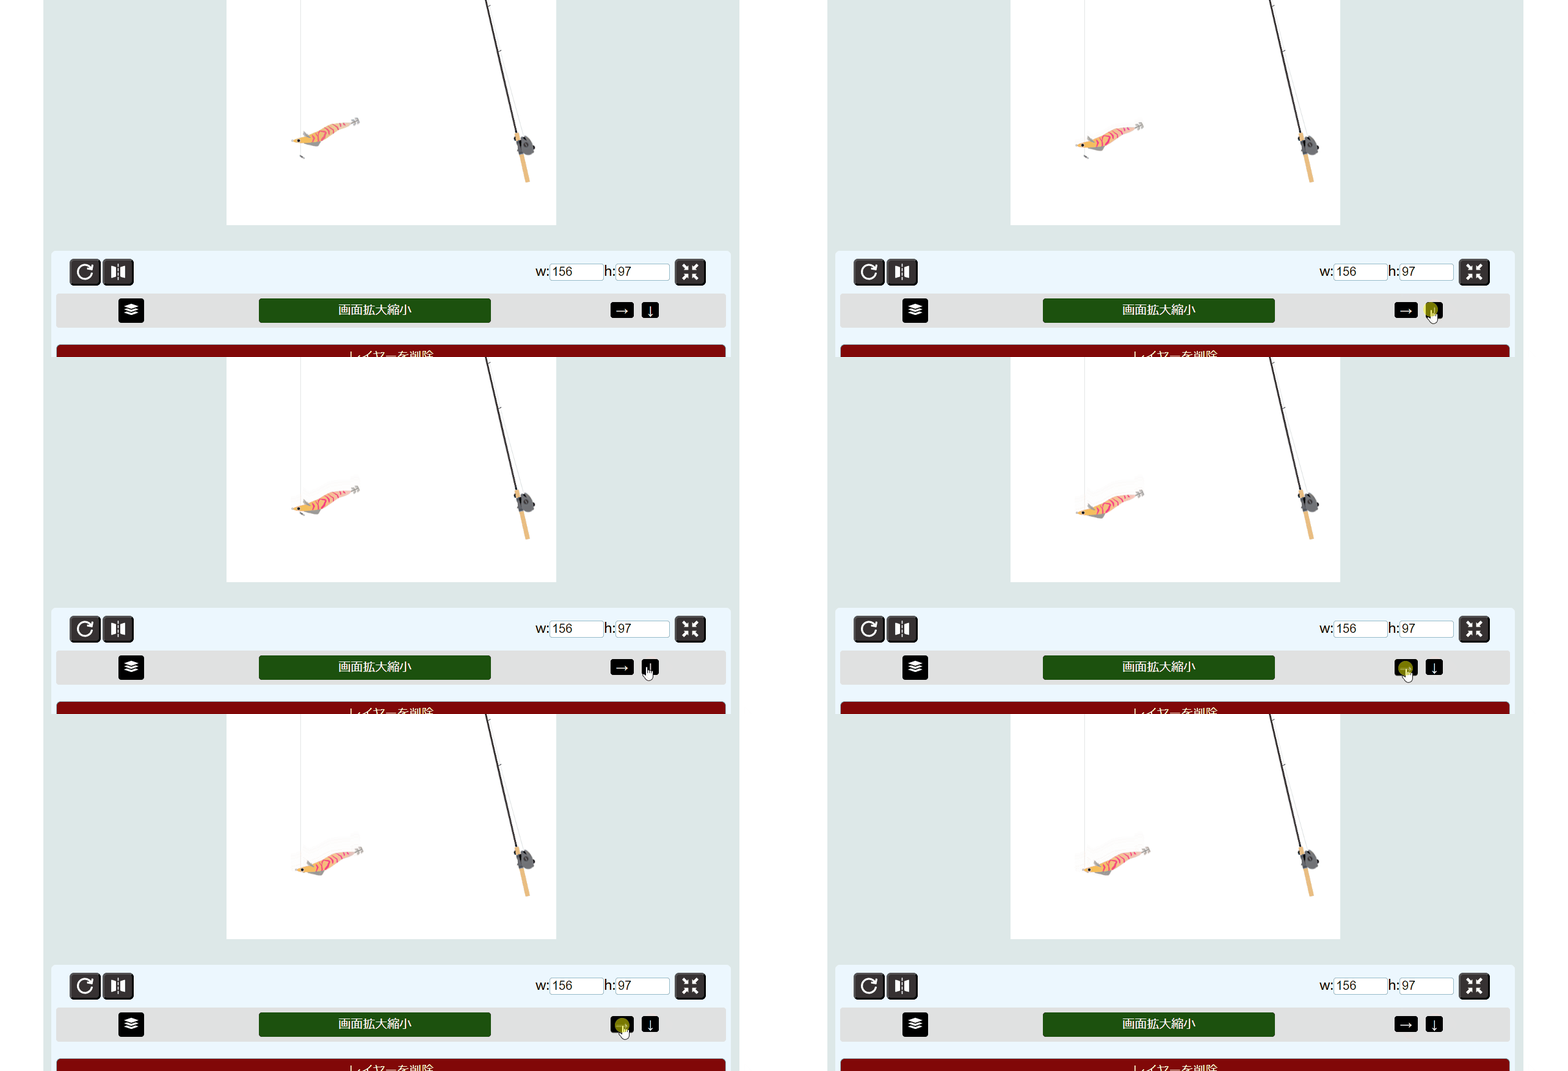
You can also use Ctrl+x and Ctrl+y (click the screen once if it doesn’t work).
Merging Layers
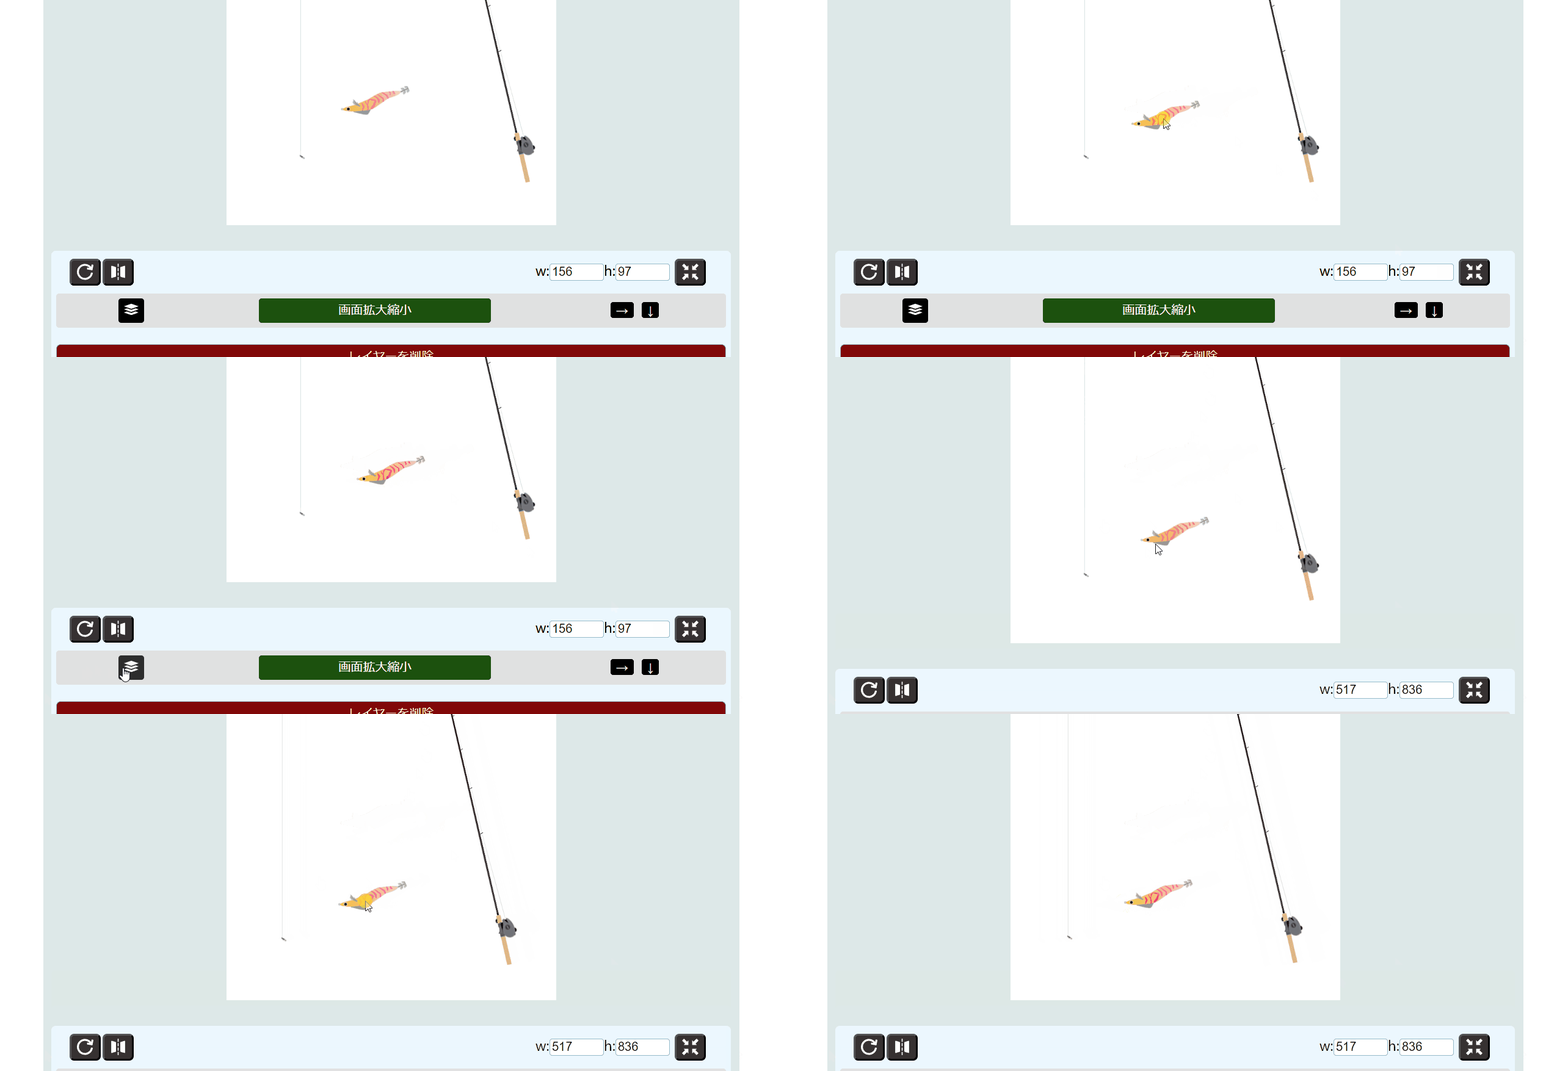
Click the button to the left of “Zoom” to merge the current layer with the one directly below it.
Reordering Layers
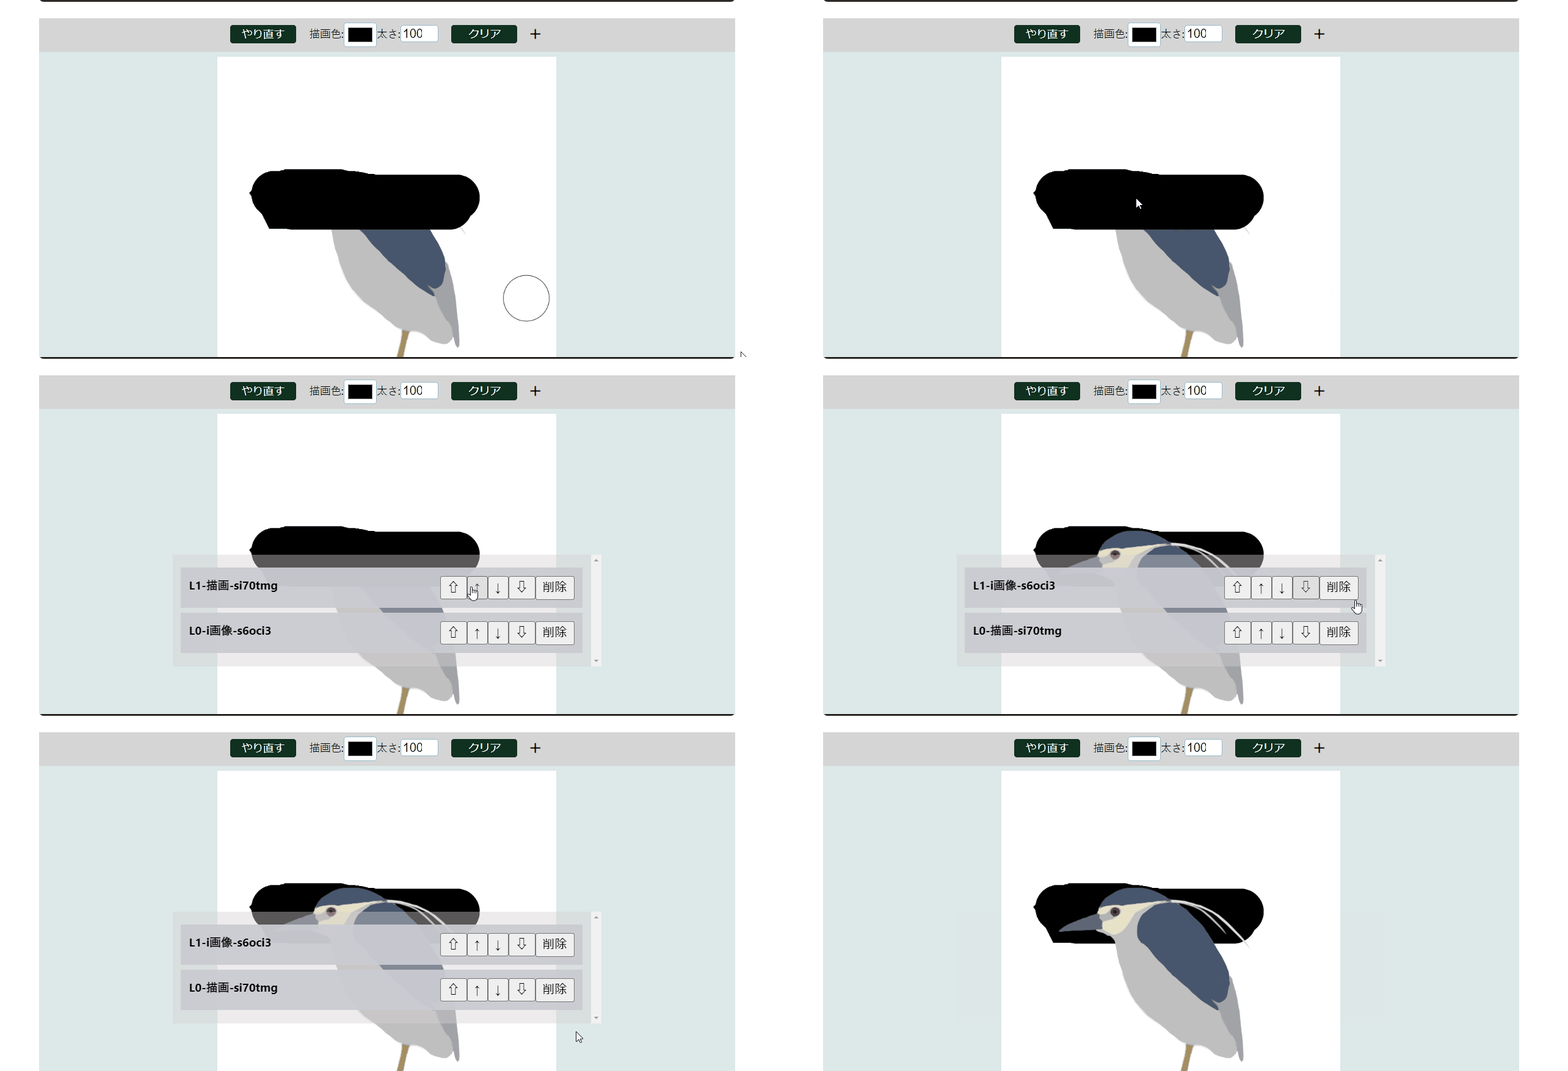
Right-click (or long-press on tablets) in the editor to display the layer list. Use the arrow buttons to change the order.
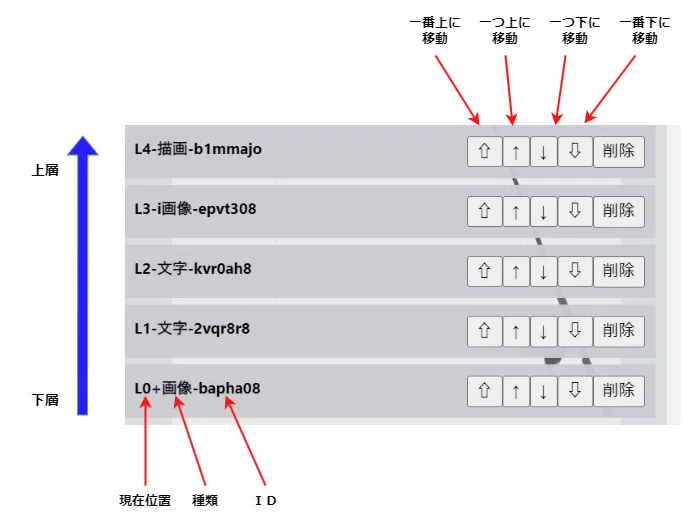
Moving a lower layer to the top allows you to edit it again (move, rotate, etc.).
Setting the Background
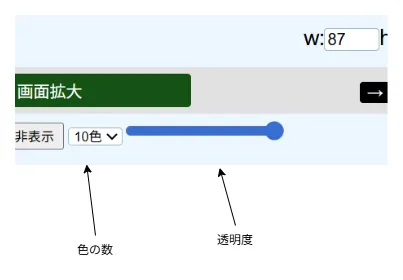
Use the slider on the lower right to adjust the transparency of the top layer. You can make an imported image semi-transparent and place it at the bottom as a background.
When Using White Fill
If you have painted parts white or included white elements, they may look unnatural. By setting “Make white transparent on merge” to Yes and merging layers, white areas become transparent.
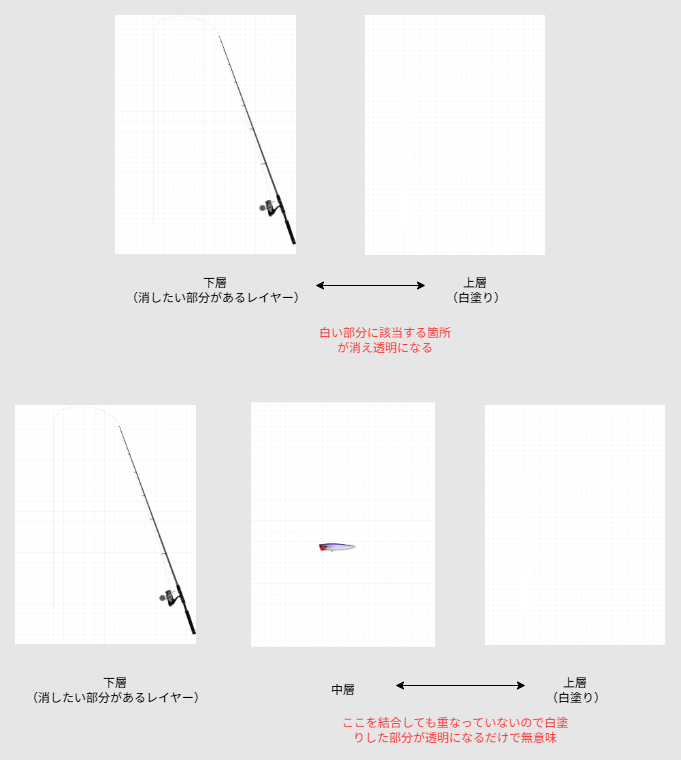
※ Showing grid lines helps distinguish between transparent and white-filled areas.
※ Do not merge directly with the background, as parts of it may become transparent. Also, merging with a fully transparent layer will not erase anything.